Flatbread Pizza – Homemade, No Yeast!
This Homemade Flatbread Pizza is a fun and delicious kitchen project, no yeast needed. Get the kids involved, or crack open a bottle of wine for date night at home!

How are you doing lately? Are you taking on complicated kitchen projects, or making the easiest meals possible? My attitude on this subject changes day to day.
Some days, just getting through the day as two adults working from home while tending to a toddler (and maybe getting some crockpot soup made for dinner) is all we can handle. Other days (especially weekends) are more relaxed, with literally NOTHING on the agenda.
I’ve started experimenting with baking yeast breads in a way I haven’t done since culinary school. However, I’m still finding that access to yeast is hit or miss at most grocery stores around here, and I’m currently out of yeast.
While I love a great Detroit style pizza, that’s not happening without yeast. So last weekend, I wanted to make homemade flatbread, and lack of yeast wasn’t going to stop me.
Why make homemade flatbread pizza?
Because it’s a fun little project that gives you a since of accomplishment without being TOO labor or time intensive. Because this recipe doesn’t call for yeast, there’s not even any rising or proofing time (just 10 minutes to rest the dough after you knead it).
And as an added bonus, I find kneading dough to be really soothing. Who couldn’t use four minutes of dough-kneading-meditation right now?
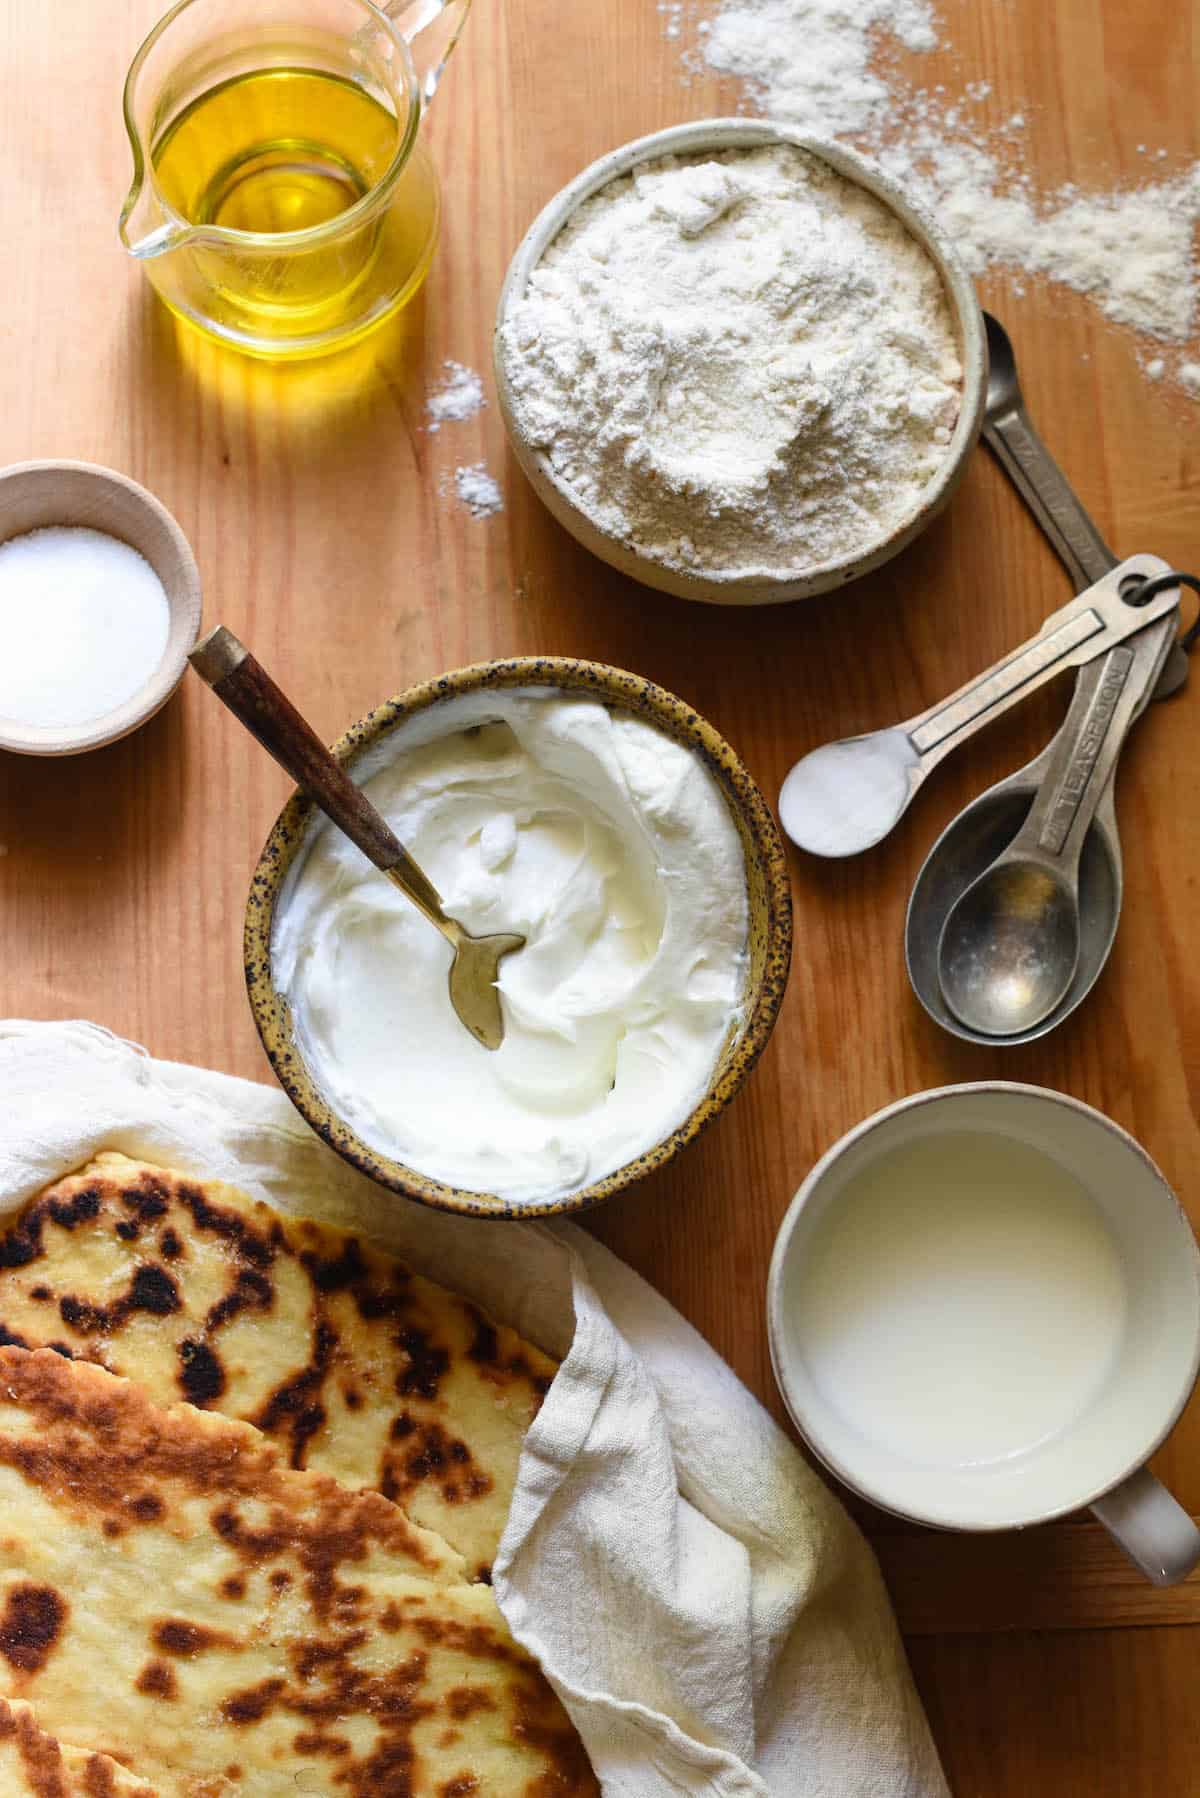
The ingredients for this flatbread pizza dough recipe are easy to find:
- flour
- baking powder
- baking soda
- sour cream
- milk
- olive oil
- sugar
- salt
- vegetable oil

How to make flatbread pizza crust:
You’ll need two mixing bowls. In one bowl, you’ll whisk together the dry ingredients – flour, baking powder, salt and baking soda. In the other bowl, you’ll whisk together the wet ingredients – sour cream, milk, olive oil and sugar.
Yes, sugar is treated as a wet ingredient in baked goods because you’ll get a more even distribution of the sugar when you combine it into the liquid ingredients vs. trying to stir it into the dry ingredients.
Add half of the wet ingredients to the dry ingredients and stir with a spatula. Add the remaining wet ingredients, stirring until the mixture starts to come together.
At this point, the dough will still seem somewhat crumbly. Don’t worry, this is normal! Dump the dough out onto a clean, floured work surface.
Knead the dough for AT LEAST 4 minutes or until smooth. Have patience – the dough will develop and become smooth and stretchy (vs shaggy and biscuit-like) as you knead it to develop the gluten.
If the dough begins to stick to your work surface at any point, sprinkle the surface with a little more flour.
After kneading, leave the dough on your work surface to rest for 10 minutes. Then, divide the dough into 4 even pieces and use a floured rolling pin to roll each piece of dough very thin – at most, you want the dough to be 1/4-inch thin, if not slightly thinner.
Heat a large cast iron skillet over medium heat, and add enough vegetable oil to thinly cover the surface. One at a time, transfer the rolled dough pieces to the skillet and cook 2 to 3 minutes or until golden brown, flipping once.
Top flatbreads with desired toppings (more on that below) and transfer to a 350 degree oven to finish cooking.

What toppings to add to this flatbread pizza recipe:
The only limit is your imagination! I love these flatbreads topped with hummus, olives and feta. Also, salted butter and thinly sliced radishes. Also, mozzarella and hot salami and honey. I mean, I pretty much enjoy homemade flatbread with ANY kind of toppings.
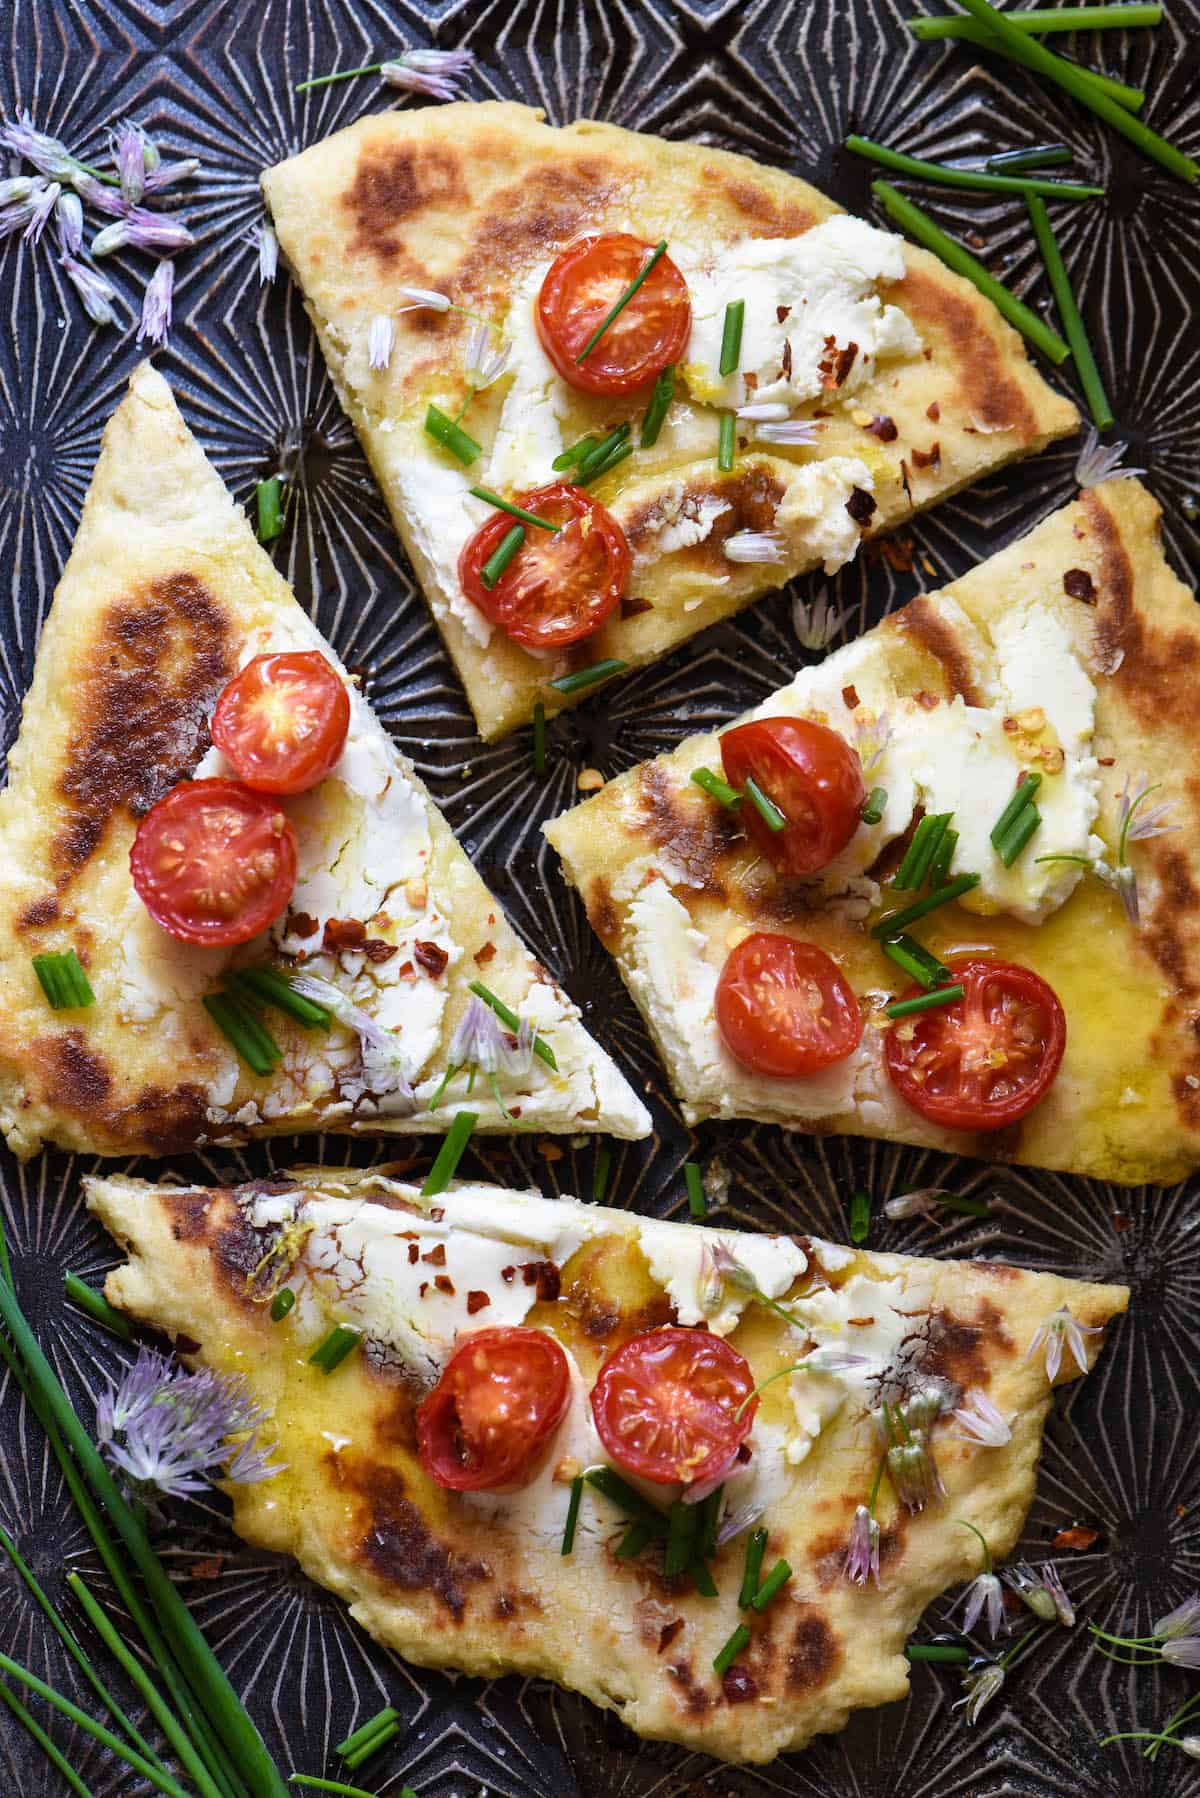
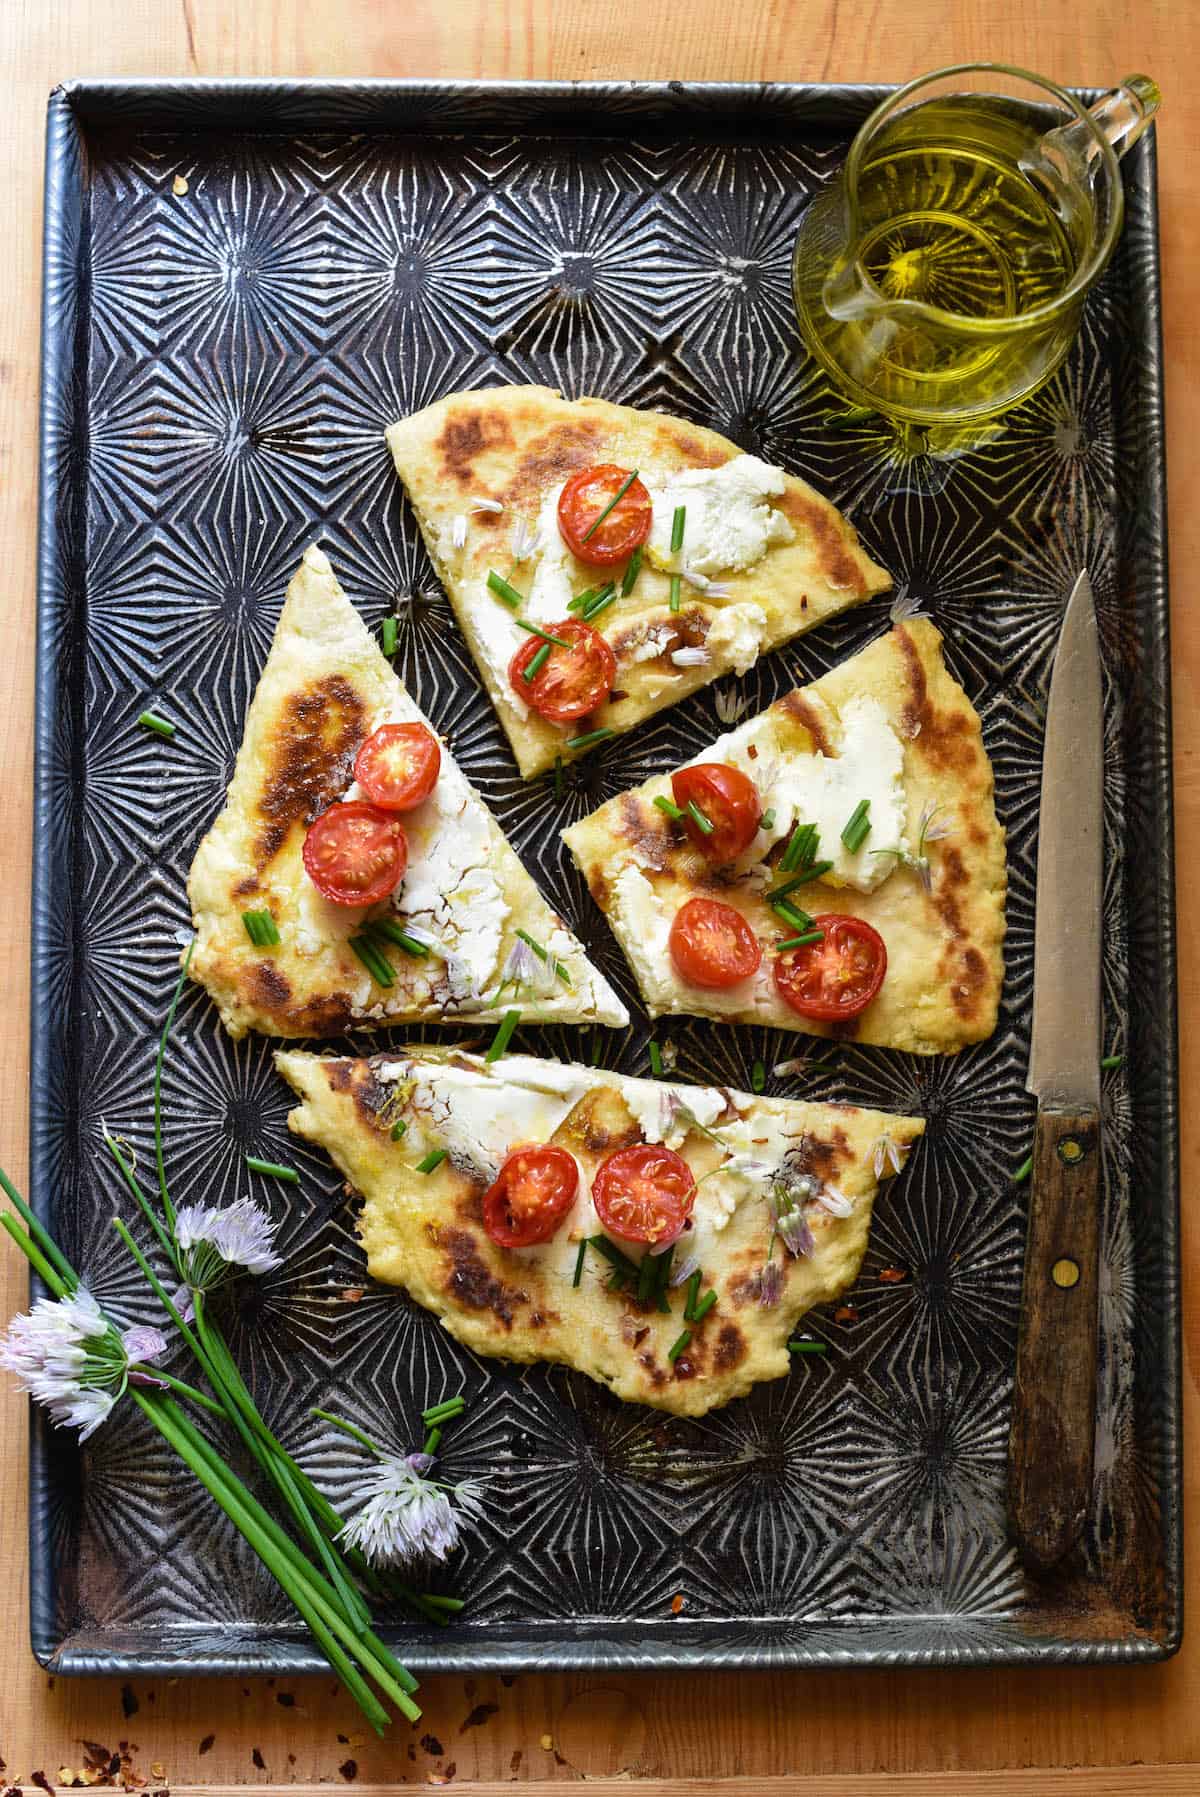
This time, I sort of took a white pizza approach with some smeared goat cheese that I had left over from making sweet potato breakfast casserole, and then some tomatoes and chives from my garden (I picked a ton of chives, and used the rest to make pimento mac and cheese). I finished it off with a dusting of lemon zest, red pepper flakes, sea salt, and a drizzle of olive oil.
You can also make this flatbread with the same toppings as my Brussels sprouts pizza.
What to eat with pizza:
If you’d like to serve your homemade flatbread with a salad, I’d recommend a simple green salad dressed with citrus salad dressing or creamy lemon feta dressing. An heirloom tomato and beet salad or cucumber and avocado salad would also be yummy.

Flatbread Pizza - Homemade, No Yeast!
This Homemade Flatbread Pizza is a fun and delicious kitchen project, no yeast needed. Get the kids involved, or crack open a bottle of wine for date night at home!
Ingredients
For the Flatbreads:
- 2 cups all-purpose flour, plus more for work surface
- 2 teaspoons baking powder
- 1 teaspoon kosher salt
- 1/2 teaspoon baking soda
- 3/4 cup sour cream
- 1/4 cup whole milk
- 2 tablespoons olive oil
- 1 teaspoon granulated sugar
- 4 tablespoons vegetable oil, divided
For Topping:
- 3 ounces goat cheese
- 3/4 cup grape tomatoes, halved
- 2 tablespoons finely chopped fresh chives
Instructions
- In large bowl, whisk flour, baking powder, salt and baking soda until well combined. In medium bowl, whisk sour cream, milk, olive oil and sugar until smooth.
- Add half of wet ingredients to dry ingredients and stir with spatula. Add remaining wet ingredients and stir until mixture starts to come together.
- Dump dough onto clean, floured work surface. Knead dough for AT LEAST 4 minutes or until smooth. If dough begins to stick to work surface at any point, sprinkle surface with a little more flour.
- Leave dough on work surface to rest 10 minutes. Then, divide dough into 4 even pieces and use flour work surface and floured rolling pin to roll each piece of dough 1/4-inch thick at most.
- Preheat oven to 350 degrees F. Heat large cast iron skillet over medium heat; add 1 tablespoon vegetable oil. Transfer 1 rolled dough piece to skillet and cook 2 to 3 minutes or until golden brown, flipping once. Repeat process with remaining dough pieces and vegetable oil.
- Place flatbreads on rimmed baking pans and top with goat cheese (smear it onto flatbread a little), tomatoes and chives. Transfer to oven for 8 to 10 minutes to finish cooking. Cut and serve immediately.
Nutrition Information:
Yield: 4 Serving Size: 1Amount Per Serving: Calories: 569Total Fat: 34gSaturated Fat: 10gTrans Fat: 1gUnsaturated Fat: 22gCholesterol: 37mgSodium: 1050mgCarbohydrates: 53gFiber: 2gSugar: 4gProtein: 12g


Have you tried cooking the flat bread in the grill? Curious of it would work and how the cook time would change? Thanks!!
Hi Kayla! Personally, I have not tried it with this particular dough, but I grill pizza dough all the time. With clean and greased grates, I think it would work. If you do try it, please let me know how it turns out!
As often happens when I read your blog posts, I learned something new (why to mix sugar with wet ingredients). I have a nice large jar of instant yeast that i’m not using – I wish I could share it with you. It is good to know how to make flat bread properly (would use Greek yogurt in mine because I like it better than sour cream). I’ve seen recipes before but have more confidence in yours. I do have a question, though, something I’ve never understood: why do you mix wet ingredients into dry instead of the other way around? The thing that has always annoyed me about mixing in the wet is that it is difficult to get all of the wet ingredients out of the bowl, while it is easy to get the dry ones out. Is there a reason other than “that’s how it’s always been done”?
Hi Susan! You know what? I actually taught myself something while writing this blog post, too! I had long assumed that sugar was considered a wet ingredient because of it’s function in the finished product of a baked good – sweetness, yes, but also moisture. I guess I assumed that the sugar crystals dissolved into a liquid when baking, thus it was a wet ingredient? And maybe that IS one reason it’s considered a wet ingredient, but also, the distribution of ingredients thing makes a lot of sense to me.
The function of each ingredient, as well as the order of operations in baking, fascinates me. I was as curious as you are about the wet into dry vs. the other way around. Because for most cookies, it’s dry into wet (which I believe is so you don’t overwork the cookie dough trying to get everything combined). But then with quick doughs and yeast bread, it seems to be wet into dry. BUT WHY?
I consulted my notes from culinary school baking and pastry classes but didn’t find a good answer. I Googled it and found hypotheses all over the place but no definitive answer. One theory that makes sense to me – commercial baking. Imagine your dry ingredients are measured in pounds, not cups. And your liquid ingredients are coming out of a 1-2 gallon bucket, or larger. Adding wet to dry seems way less messy in that situation, as you can pour the wet, whereas the dry will kind of sploosh all over, as flour always does. So is it nothing more than a holdover from commercial kitchens that trickled it’s way down to home recipes? I DON’T KNOW, but now my brain is in overdrive thinking about it!
You’re so right, though. At home, it’s way easier to get the dry into the wet cleanly, vs. having to use a spatula to scrape the last bit of the wet stuff out. In this particular recipe, since you’re kneading it anyway (and thus, no real worry that you’ll overmix or overwork), I can’t see how it would matter to just do dry into wet. I won’t tell! haha.
P.S. Greek yogurt in the same amount will work just the same ! I tried that one yesterday 🙂